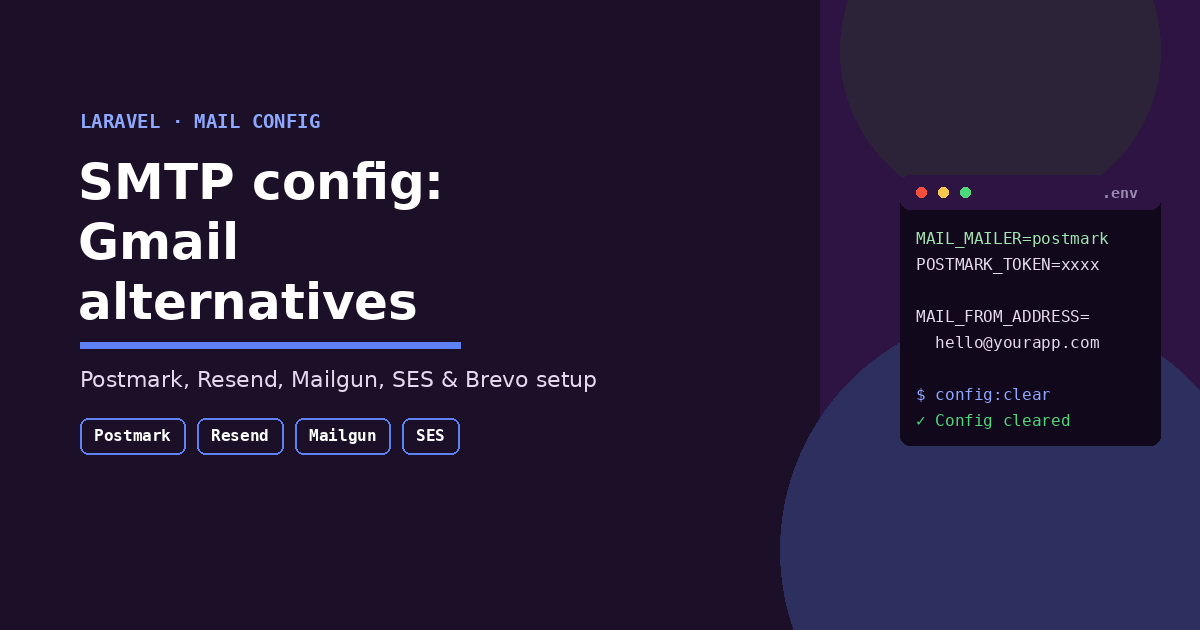
Gmail SMTP works for quick local testing, but it isn’t built for production email — it enforces low daily sending limits, requires an app password instead of your real password once 2FA is on, and its spam filtering wasn’t designed for transactional application email. For a real Laravel application, use a dedicated email provider instead: Postmark or Resend for the simplest setup and best deliverability out of the box, Mailgun if you need mass-email and validation features, or Amazon SES if you’re already in the AWS ecosystem and want the lowest per-email cost at scale. Laravel’s own documentation actively recommends API-based drivers (Mailgun, Postmark, Resend) over SMTP whenever possible, since they’re simpler and faster to work with. This guide covers full setup for each.
Why Gmail SMTP Isn’t the Right Choice for a Real App
It’s an easy trap to fall into — Gmail SMTP feels like the obvious first choice because everyone already has an account. In practice, it causes problems that only show up once your app is actually being used:
- Sending limits. Gmail caps daily outbound volume, and it’s built for a person sending email, not an application sending password resets, order confirmations, and notifications at scale.
- App passwords required. With 2FA enabled (which it should be), Gmail requires a separate app-specific password rather than your normal login — an extra setup step that also means rotating credentials if that password is ever exposed.
- No delivery visibility. Gmail gives you no bounce tracking, no open/click data, and no dashboard showing what happened to a message after it left your server — which makes debugging a “why didn’t this email arrive” ticket nearly impossible.
- Spam and abuse heuristics not built for this. Consumer email providers watch for patterns that look like account compromise or spam — exactly the pattern of an application sending many similar transactional emails to many different people.
Laravel’s own docs are explicit about this: API-based drivers like Mailgun, Postmark, and Resend are the recommended path over generic SMTP whenever you have the choice.
Option 1: Postmark (Simplest Setup, Strong Deliverability)
Postmark is built specifically for transactional email — password resets, receipts, notifications — and is widely regarded as one of the fastest to get running in a Laravel app.
Install:
composer require symfony/postmark-mailer symfony/http-clientconfig/mail.php — set the default mailer:
'default' => env('MAIL_MAILER', 'postmark'),config/services.php:
'postmark' => [
    'token' => env('POSTMARK_TOKEN'),
],
.env:
MAIL_MAILER=postmark
POSTMARK_TOKEN=your-postmark-server-token
MAIL_FROM_ADDRESS="hello@yourdomain.com"
MAIL_FROM_NAME="${APP_NAME}"
Get your token from the Postmark dashboard, and make sure your sending domain is verified there (SPF/DKIM) before going live.
Option 2: Resend (Modern, Developer-Friendly)
Resend has become a popular choice for newer Laravel projects, with a clean API and a generous free tier for smaller apps.
Install:
composer require resend/resend-laravel.env:
MAIL_MAILER=resend
RESEND_KEY=your-resend-api-key
MAIL_FROM_ADDRESS="hello@yourdomain.com"
MAIL_FROM_NAME="${APP_NAME}"
config/mail.php:
'default' => env('MAIL_MAILER', 'resend'),As with Postmark, verify your sending domain in the Resend dashboard — unverified domains will either fail to send or land in spam.
Option 3: Mailgun (Good for Mass Email + Validation)
Mailgun fits well if you need bulk-sending features and built-in recipient validation, not just transactional email.
Install:
composer require symfony/mailgun-mailer symfony/http-clientconfig/mail.php:
'default' => env('MAIL_MAILER', 'mailgun'),config/services.php:
'mailgun' => [
    'domain' => env('MAILGUN_DOMAIN'),
    'secret' => env('MAILGUN_SECRET'),
    'endpoint' => env('MAILGUN_ENDPOINT', 'api.mailgun.net'),
],
.env:
MAIL_MAILER=mailgun
MAILGUN_DOMAIN=mg.yourdomain.com
MAILGUN_SECRET=your-mailgun-api-key
MAIL_FROM_ADDRESS="hello@yourdomain.com"
MAIL_FROM_NAME="${APP_NAME}"
If you’re not on Mailgun’s US region, set MAILGUN_ENDPOINT=api.eu.mailgun.net (or your region’s equivalent) rather than the default.
Option 4: Amazon SES (Lowest Cost at Scale)
SES is the cheapest option per email by a wide margin once you’re sending real volume, and makes sense if you’re already running infrastructure on AWS. The tradeoff is more setup steps and a less beginner-friendly interface than Postmark or Resend.
Install:
composer require aws/aws-sdk-phpconfig/mail.php:
'default' => env('MAIL_MAILER', 'ses'),config/services.php:
'ses' => [
    'key' => env('AWS_ACCESS_KEY_ID'),
    'secret' => env('AWS_SECRET_ACCESS_KEY'),
    'region' => env('AWS_DEFAULT_REGION', 'us-east-1'),
],
.env:
MAIL_MAILER=ses
AWS_ACCESS_KEY_ID=your-access-key
AWS_SECRET_ACCESS_KEY=your-secret-key
AWS_DEFAULT_REGION=us-east-1
MAIL_FROM_ADDRESS="hello@yourdomain.com"
MAIL_FROM_NAME="${APP_NAME}"
Important: New SES accounts start in “sandbox mode,” which only allows sending to verified email addresses. You’ll need to request production access from AWS (a short approval process) before you can send to arbitrary recipients — a step that trips up a lot of first-time SES users, since everything appears to work fine in testing and then fails once real users are involved.
Option 5: Brevo (Email + SMS in One)
Brevo isn’t bundled with Laravel/Symfony by default the way the others are, but it’s straightforward to register as a custom transport if you want email and SMS from a single provider.
Install:
composer require symfony/brevo-mailer symfony/http-clientconfig/services.php:
'brevo' => [
    'key' => env('BREVO_API_KEY'),
],
Then register the transport in a service provider’s boot() method using Laravel’s Mail::extend() method, per Laravel’s documentation for adding additional Symfony-maintained transports.
Quick Comparison
| Provider | Setup Difficulty | Best For | Free Tier |
|---|---|---|---|
| Postmark | Easiest | Transactional email, fast setup | Limited trial |
| Resend | Easy | Modern apps, developer experience | Generous for small apps |
| Mailgun | Moderate | Mass email + recipient validation | Limited free tier |
| Amazon SES | Most involved | Lowest cost at high volume | Free tier via AWS |
| Brevo | Moderate (custom transport) | Email + SMS in one platform | Free tier with daily cap |
After Switching: Don’t Skip These Steps
Regardless of which provider you choose:
- Clear cached config after updating
.env:php artisan config:clear - Verify your sending domain in the provider’s dashboard (SPF, DKIM, sometimes DMARC) — unverified domains are the most common reason a correctly configured provider still doesn’t deliver
- Test with the log driver first if anything seems off — set
MAIL_MAILER=logtemporarily to confirm Laravel is generating the email correctly before troubleshooting the provider connection - Restart queue workers if you’re using
ShouldQueue, since a running worker process won’t pick up your.envchanges until restarted (php artisan queue:restart)
Frequently Asked Questions
Is SMTP or an API-based driver better for Laravel? Laravel’s own documentation recommends API-based drivers (Mailgun, Postmark, Resend) over SMTP whenever available — they’re generally faster and simpler to configure correctly.
Can I still use Gmail SMTP for local development? Yes, it’s fine for local testing with an app password, but switch to a dedicated provider before deploying anything that sends real email to real users.
Which provider is cheapest for a small app? Resend and Postmark both offer usable free or low-cost tiers for small volume; Amazon SES becomes the cheapest option once you’re sending meaningfully higher volume, but has more setup overhead.
Why isn’t my email arriving even though my provider says it sent successfully? This is almost always a domain verification issue (missing or incorrect SPF/DKIM records) rather than a Laravel configuration problem — check your provider’s dashboard for the domain’s verification status.
Do I need to change my Laravel code when switching providers? No — if you’re using Laravel’s Mail facade and mailable classes properly, switching providers is just a .env and config/services.php change. Your Mail::to($user)->send(new WelcomeEmail()) calls don’t need to change at all.